How to Set Materials from a Screenshot
A simple screenshot from Revit, SketchUp, or Archicad is enough. QuickArchViz can automatically prepare a photorealistic visualization, or you can use Advanced Mode to map your own materials based on the colors used in the model.
- Jowita Chmura
- Rendering AI , Advanced Mode
How It Works
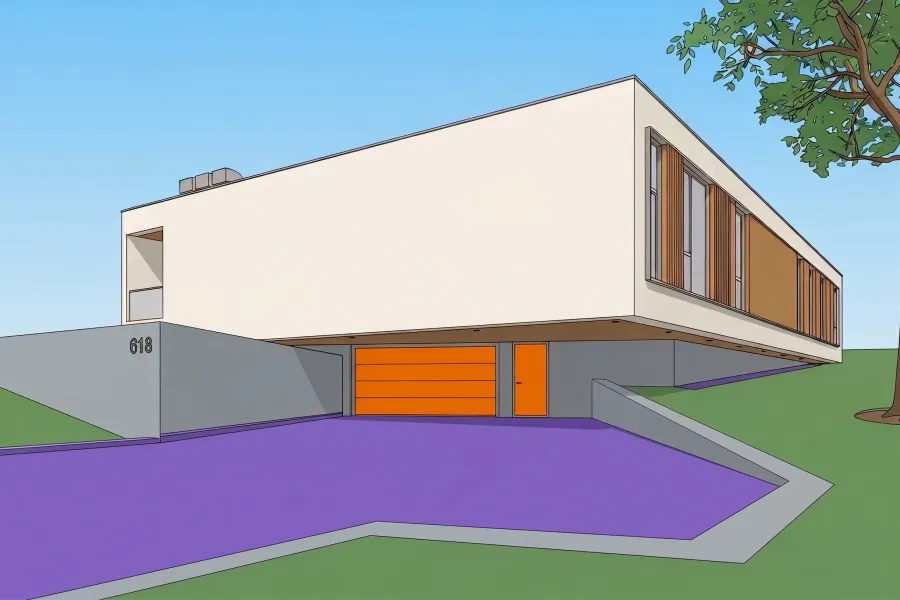
Step 1
Start with a model screenshot
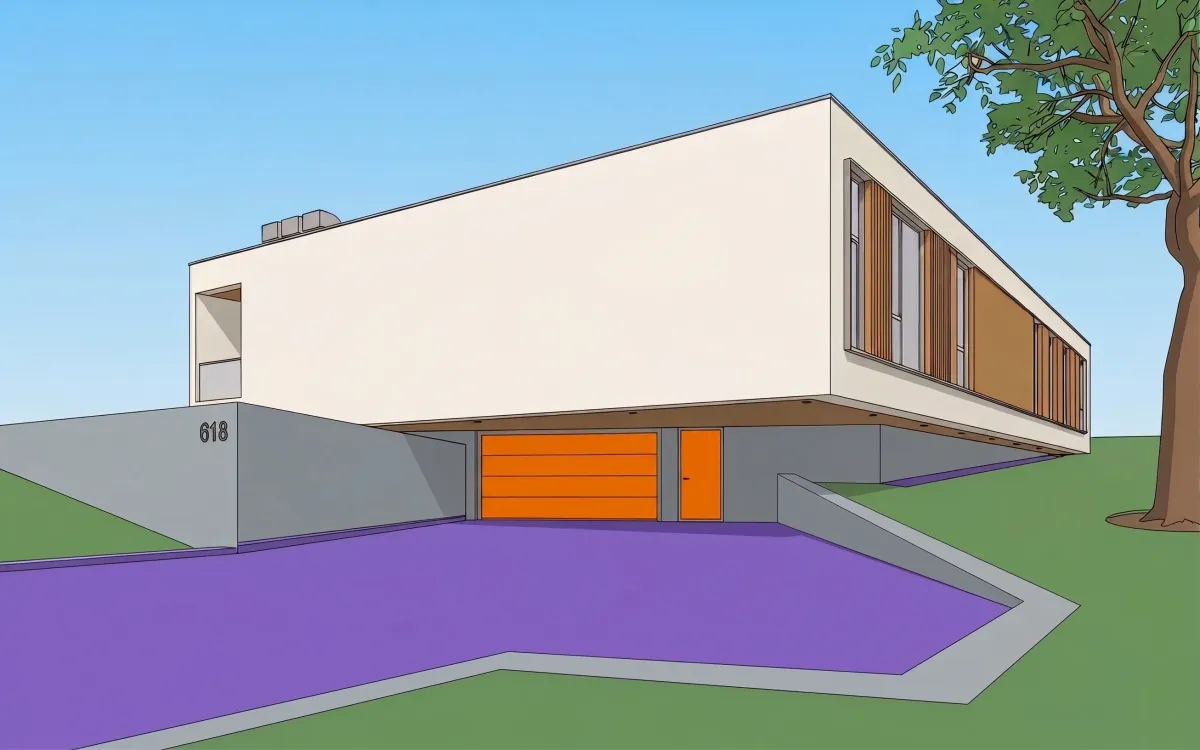
Upload a regular screenshot from Archicad, Revit, SketchUp, Rhino, or 3ds Max. You do not need final materials, lighting, or a polished render scene.
- A raw model screenshot is enough.
- QuickArchViz preserves the geometry and massing.
- QuickArchViz preserves the perspective and camera angle.
Accepted formats
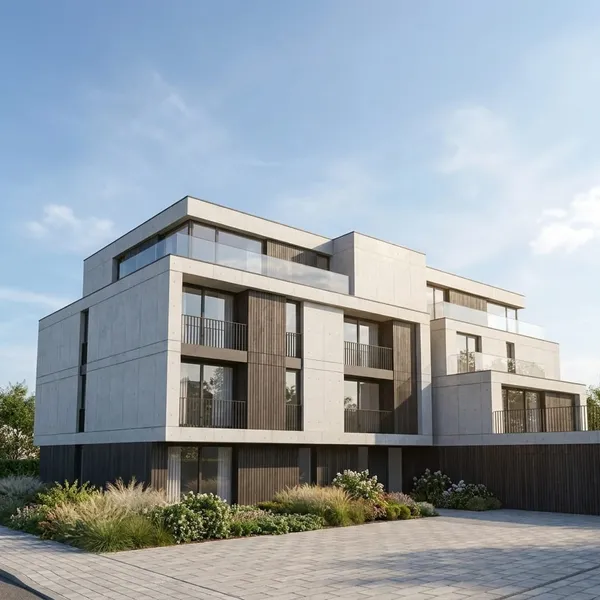
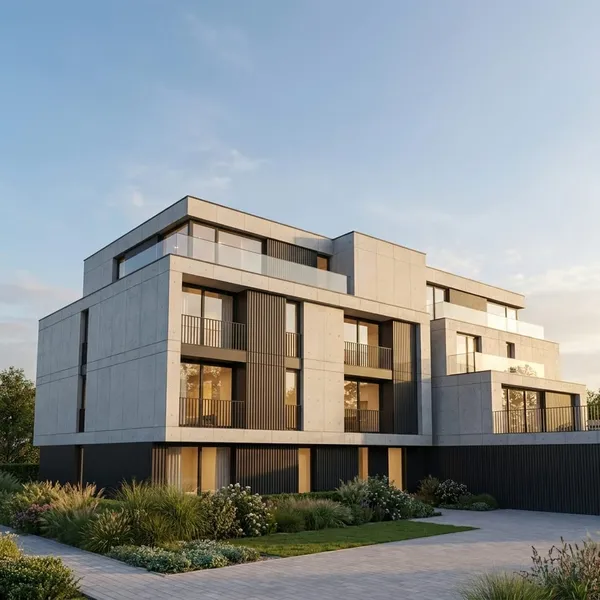
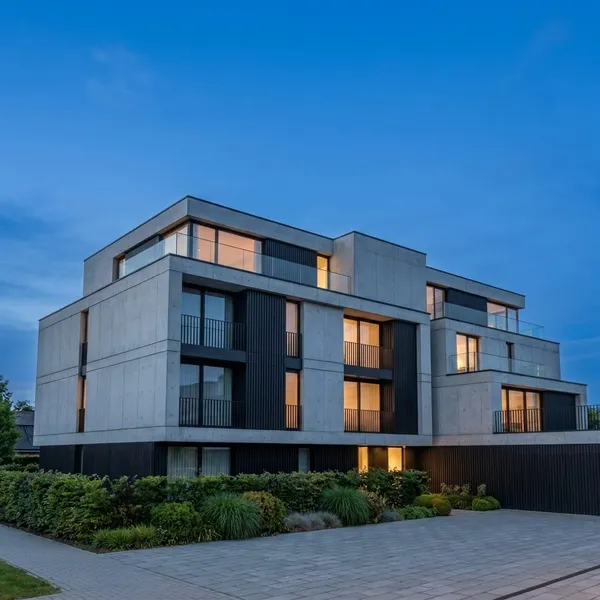
Step 2
Assign Materials Based on Colors
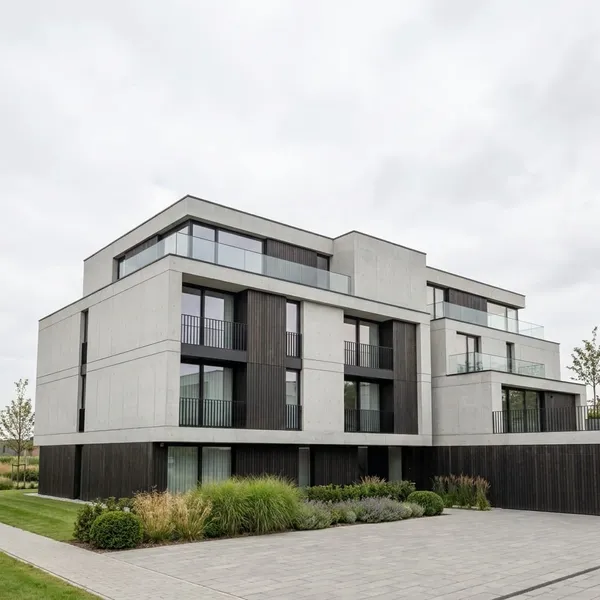
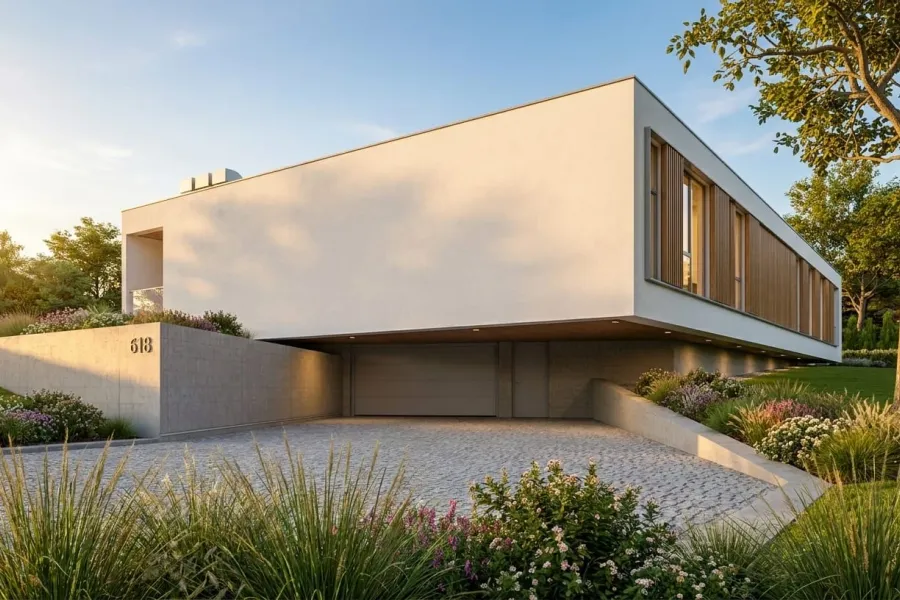
- Choose a ready visualization style: Clean Daylight, Golden Hour, Evening Glow, or Overcast.
- With Advanced Mode, you can manually assign materials to the colors used in the model, for example:
- brown -> wood;
- white -> architectural concrete;
- blue -> reflective glass;
- orange -> aluminum or steel.
Step 3
Receive a Presentation-Ready Visualization
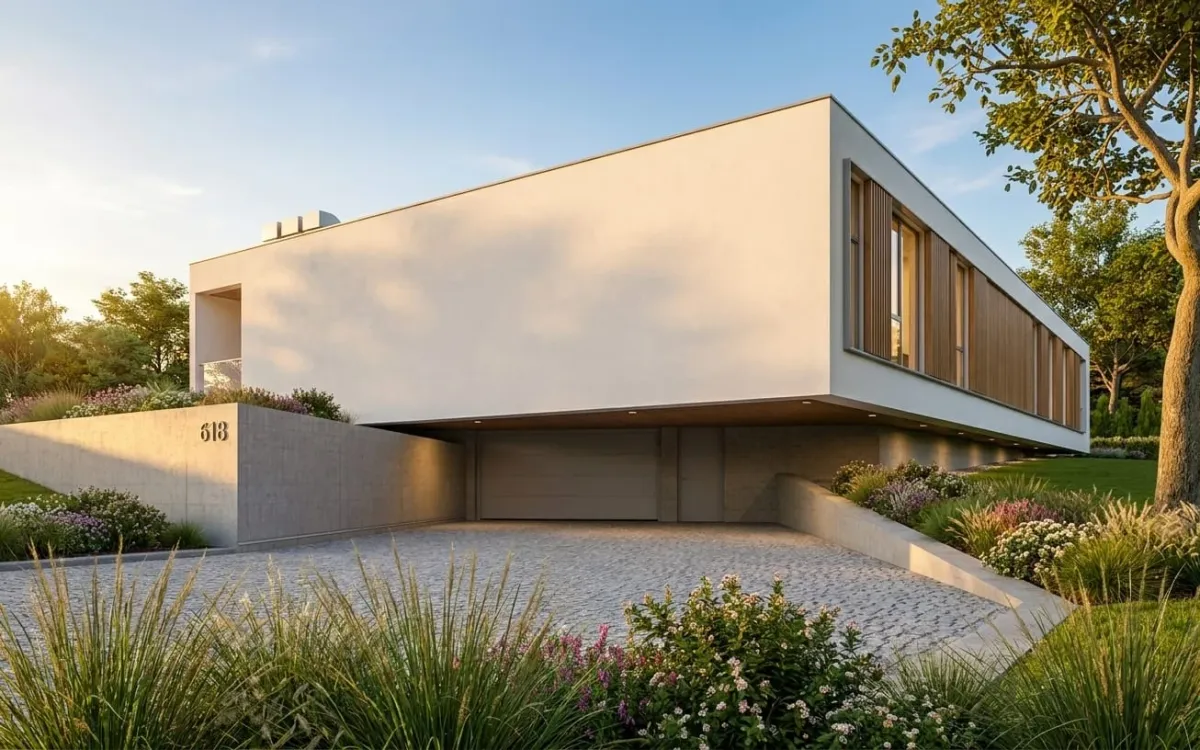
In seconds, you get a photorealistic render ready for an investor presentation, portfolio, competition board, or project iteration.
- Visualization in 2K+ quality.
- You can edit the generated image twice and refine the result.
- Generate an 8-second video with one click.
- Use the Upscaler to get 4K resolution.
Before and After
What QuickArchViz Preserves
Stop spending hours on rendering. Focus on design.
Instead of building every render scene from scratch, you can use a screenshot of an existing model and instantly test material directions, atmosphere, and finish options. QuickArchViz compresses this workflow into minutes.
For architects and design studios, that means faster investor decisions, more iterations during meetings, less time spent on technical rendering, and better project margins.
FAQ
How does Advanced Mode work?
Advanced Mode analyzes colors used in your model and lets you assign them to specific architectural materials such as wood, concrete, glass, steel, or stone.
Can I use screenshots from Revit, SketchUp, or Archicad?
Yes. QuickArchViz works with regular 3D model screenshots from the software you already use.
What quality do I get?
Standard renders are generated in 2K+ quality, and the optional Upscaler gives you ultra-detailed 4K output.
Can I edit the generated visualization?
Yes. You can change materials, lighting, and details with simple text instructions instead of setting up the render scene again.
Do I need to know rendering engines?
No. QuickArchViz removes the technical rendering setup so you can focus on design and presentation.
Stop losing time on complicated rendering.
Present architecture faster. Join architects using QuickArchViz to create photorealistic visualizations from simple screenshots.
Create your first visualization for free